Cricut Maker 3 Smart Cutting Machine Available
Back to Equipment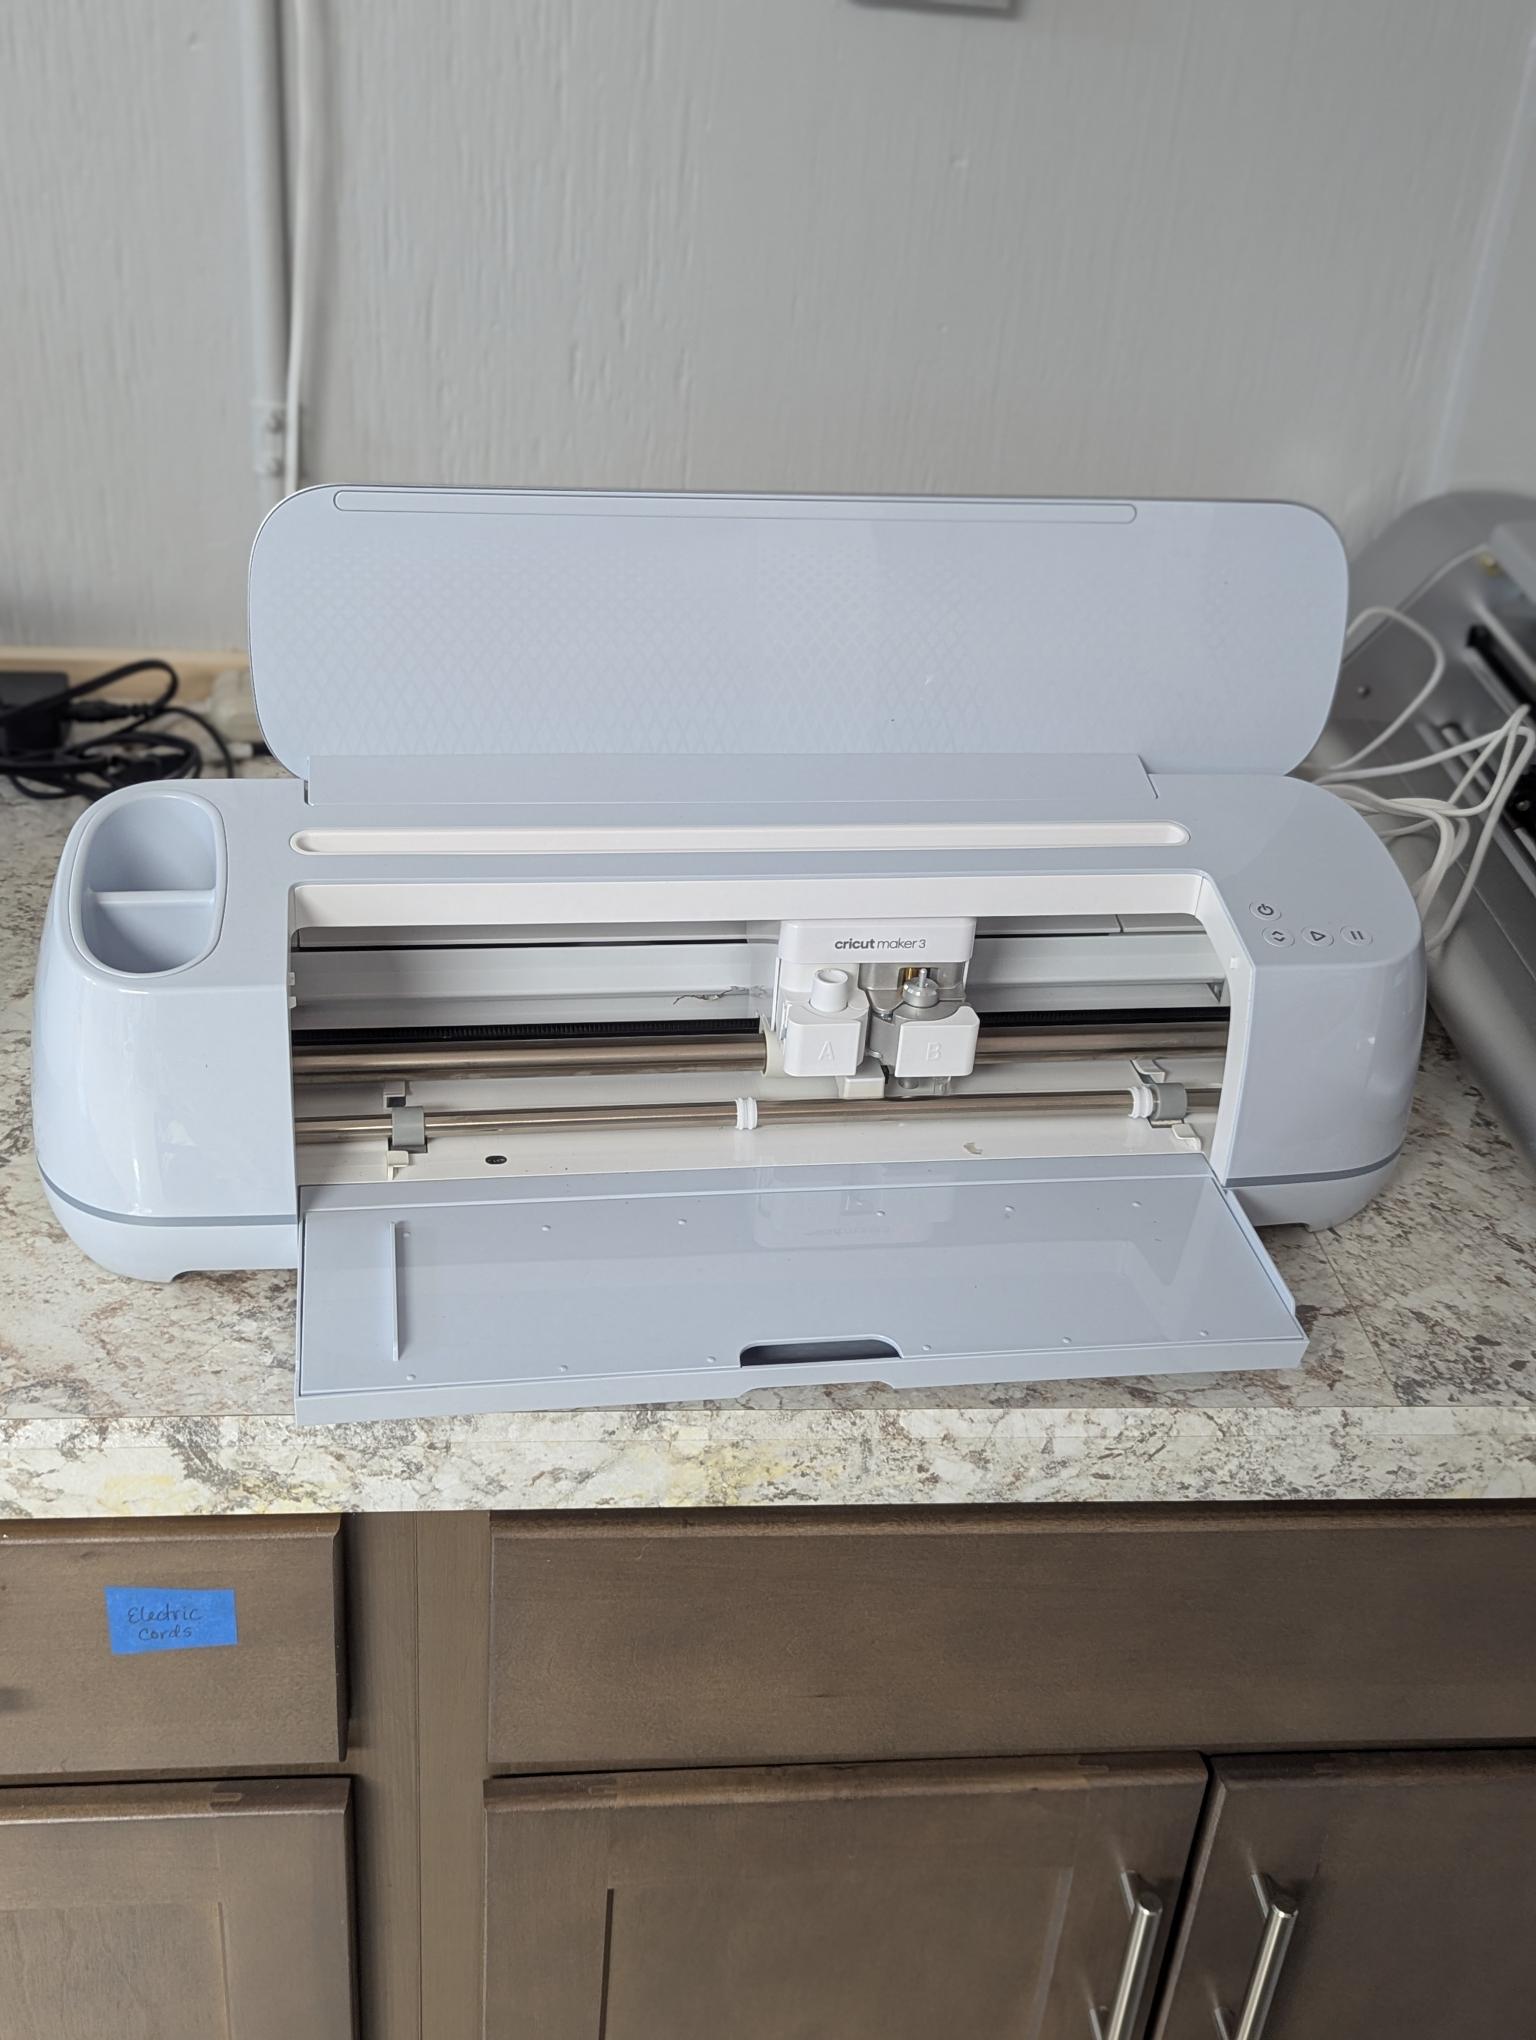
The Cricut Maker 3 is a smart electronic cutting machine featuring an Adaptive Tool System that intelligently controls blade direction and pressure to match your materials. It delivers up to 2x faster cutting speeds than the original Maker and 10x more cutting force than Explore series machines. Compatible with 13 different tools, the Maker 3 can cut, draw, write, score, deboss, engrave, perforate, and transfer foil across more than 300 materials including vinyl, cardstock, paper, fabric, felt, leather, basswood, chipboard, matboard, and more. With Smart Materials, the machine cuts matless at lengths up to 12 feet for single images or repeated cuts up to 75 feet. Traditional mat cutting supports 12 by 12 inch and 12 by 24 inch mats in four grip strengths. Print Then Cut capability lets you print designs on a home printer and have the Maker 3 precisely cut around them. The machine connects via Bluetooth and uses Cricut Design Space, a free app available on Windows, Mac, iOS, and Android. A USB charging port and device dock are built in for phone or tablet use during projects. No subscription is required to operate the machine.
- Power on the Cricut Maker 3 and ensure Bluetooth is connected to your computer, phone, or tablet running Cricut Design Space.
- Open Cricut Design Space and select or create your project design. Choose Cricut Maker 3 as your machine.
- Select the correct material setting in Design Space to match your material. This determines blade pressure, speed, and number of passes.
- Install the appropriate blade or tool in the correct clamp. Clamp A (left) holds cutting blades. Clamp B (right) holds pens, scoring tools, and QuickSwap accessories.
- For mat cutting: Place your material on the appropriate cutting mat (Light Grip for paper, Standard Grip for vinyl and cardstock, Strong Grip for chipboard and heavy materials, Fabric Grip for fabrics). Smooth material firmly onto the mat.
- For matless cutting with Smart Materials: Align the Smart Material with the left material guides and feed it into the machine. No mat is needed.
- Load the mat or Smart Material by pressing the load/unload button (double arrow). The machine will pull the material in and scan the blade.
- Press the Go button (play triangle) to begin cutting. The machine will automatically adjust blade direction and pressure based on your material selection.
- For Print Then Cut projects: Print your design on a home printer first, then place the printed sheet on a mat and load it. The machine uses sensors to locate registration marks and cut around your printed images.
- When the cut is complete, press the load/unload button to eject the mat or Smart Material.
- Carefully remove your cut material from the mat using a spatula or weeding tool. For vinyl projects, use a weeding tool to remove excess material, then apply transfer tape if needed.
- For pen and scoring projects, follow the same loading process. Design Space will prompt you to load the correct tool for each step of multi-step projects.
- After use, clean any debris from the cutting area and blade housing. Store blades with protective caps when not in use.
- Keep cutting mats clean by removing stray fibers and material fragments. Store mats with protective covers to maintain adhesive grip.
- Check the Cricut Design Space material list for recommended settings, blade types, and mat types before cutting unfamiliar materials.
No certification required
Book This Equipment