KNK Zing Orbit 24" Digital Die Cutter Available
Back to Equipment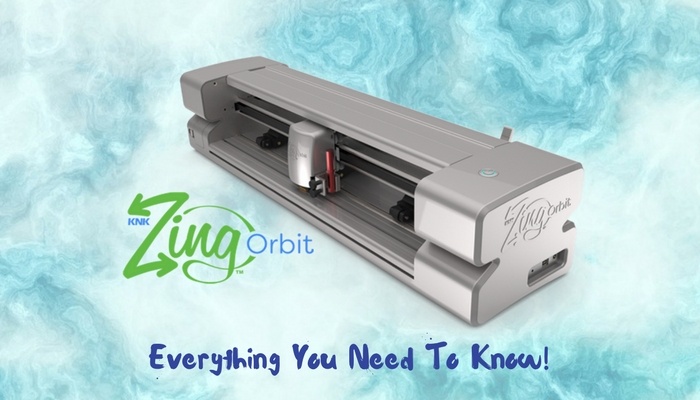
The KNK Zing Orbit 24 inch is a professional-grade digital die cutting machine from Klic-N-Kut (KNK USA). With over 1,000 grams of cutting force and speeds up to 30 inches per second, the Zing Orbit handles a wide range of materials from delicate paper to balsa wood and chipboard. The 24-inch model provides a generous cutting width for larger projects and includes front and back flatbed tables to keep materials level during cutting. The machine features Automatic Registration Tracking (ART) powered by an optic eye that scans four registration marks for precise print-and-cut applications, limited only by the size your printer can handle. The universal tool holder accepts a variety of blades, pens, markers, and embossing tools via thumbscrews, giving users flexibility beyond manufacturer-specific accessories. Connectivity options include USB cable and WiFi in both standalone and network modes. The Zing Orbit operates with Sure Cuts A Lot (SCAL) software which supports importing SVG, AI, PDF, EPS, and other file formats. An optional Orbit accessory enables drawing directly on spherical objects like ornaments and eggs. The machine operates at a quiet 60 to 70 decibels, equivalent to normal conversation.
- Place the Zing Orbit on a stable, level table surface. Attach the front and back flatbed tables to keep cutting mats and materials level.
- Connect the machine to your computer via USB cable or WiFi. For WiFi, configure the connection in standalone mode or through your network router.
- Power on the machine using the power switch. The colored LED lights will illuminate the cutting area.
- Open Sure Cuts A Lot (SCAL) software on your computer. Create or import your design using supported file formats (SVG, AI, PDF, EPS, etc.).
- Install the appropriate blade or tool in the universal tool holder. Loosen the thumbscrews, insert the blade holder or pen, adjust depth, and tighten the thumbscrews securely.
- For mat cutting: Place your material on the cutting mat and smooth it down firmly. Load the mat into the machine by positioning it against the guides and under the pinch wheels.
- For roll materials (vinyl, HTV): Position the adjustable pinch wheels to match your material width. Feed the material under the pinch wheels and use the pinch feed lever to lower the wheels and grip the material.
- In SCAL, select your material type and adjust cut settings (pressure, speed, blade depth) according to the suggested cut settings guide. Start with a test cut on scrap material to verify settings.
- Send the design to the cutter from SCAL. The machine will begin cutting at the configured speed and pressure.
- For print-and-cut projects: Print your design with registration marks on your home printer. Place the printed sheet on the cutting mat and load it. The Automatic Registration Tracking (ART) system will scan the four registration marks via the optic eye and align the cut path precisely to your printed image.
- When the cut is complete, raise the pinch wheels using the lever and remove the mat or material.
- Use weeding tools to remove excess material from vinyl and HTV projects. Apply transfer tape as needed for vinyl applications.
- For pen and marker projects, replace the blade with the desired pen or marker in the tool holder. Adjust the holder height so the tip contacts the material with light pressure.
- After use, remove the blade from the holder and store it safely. Clean any debris from the cutting area and pinch wheels.
- Keep the cutting mat clean and free of stray material fragments to maintain adhesive grip. Store mats flat with protective covers when not in use.
No certification required
Book This Equipment