Boss LS-1630 CO2 Laser Available Cert Required
Back to Equipment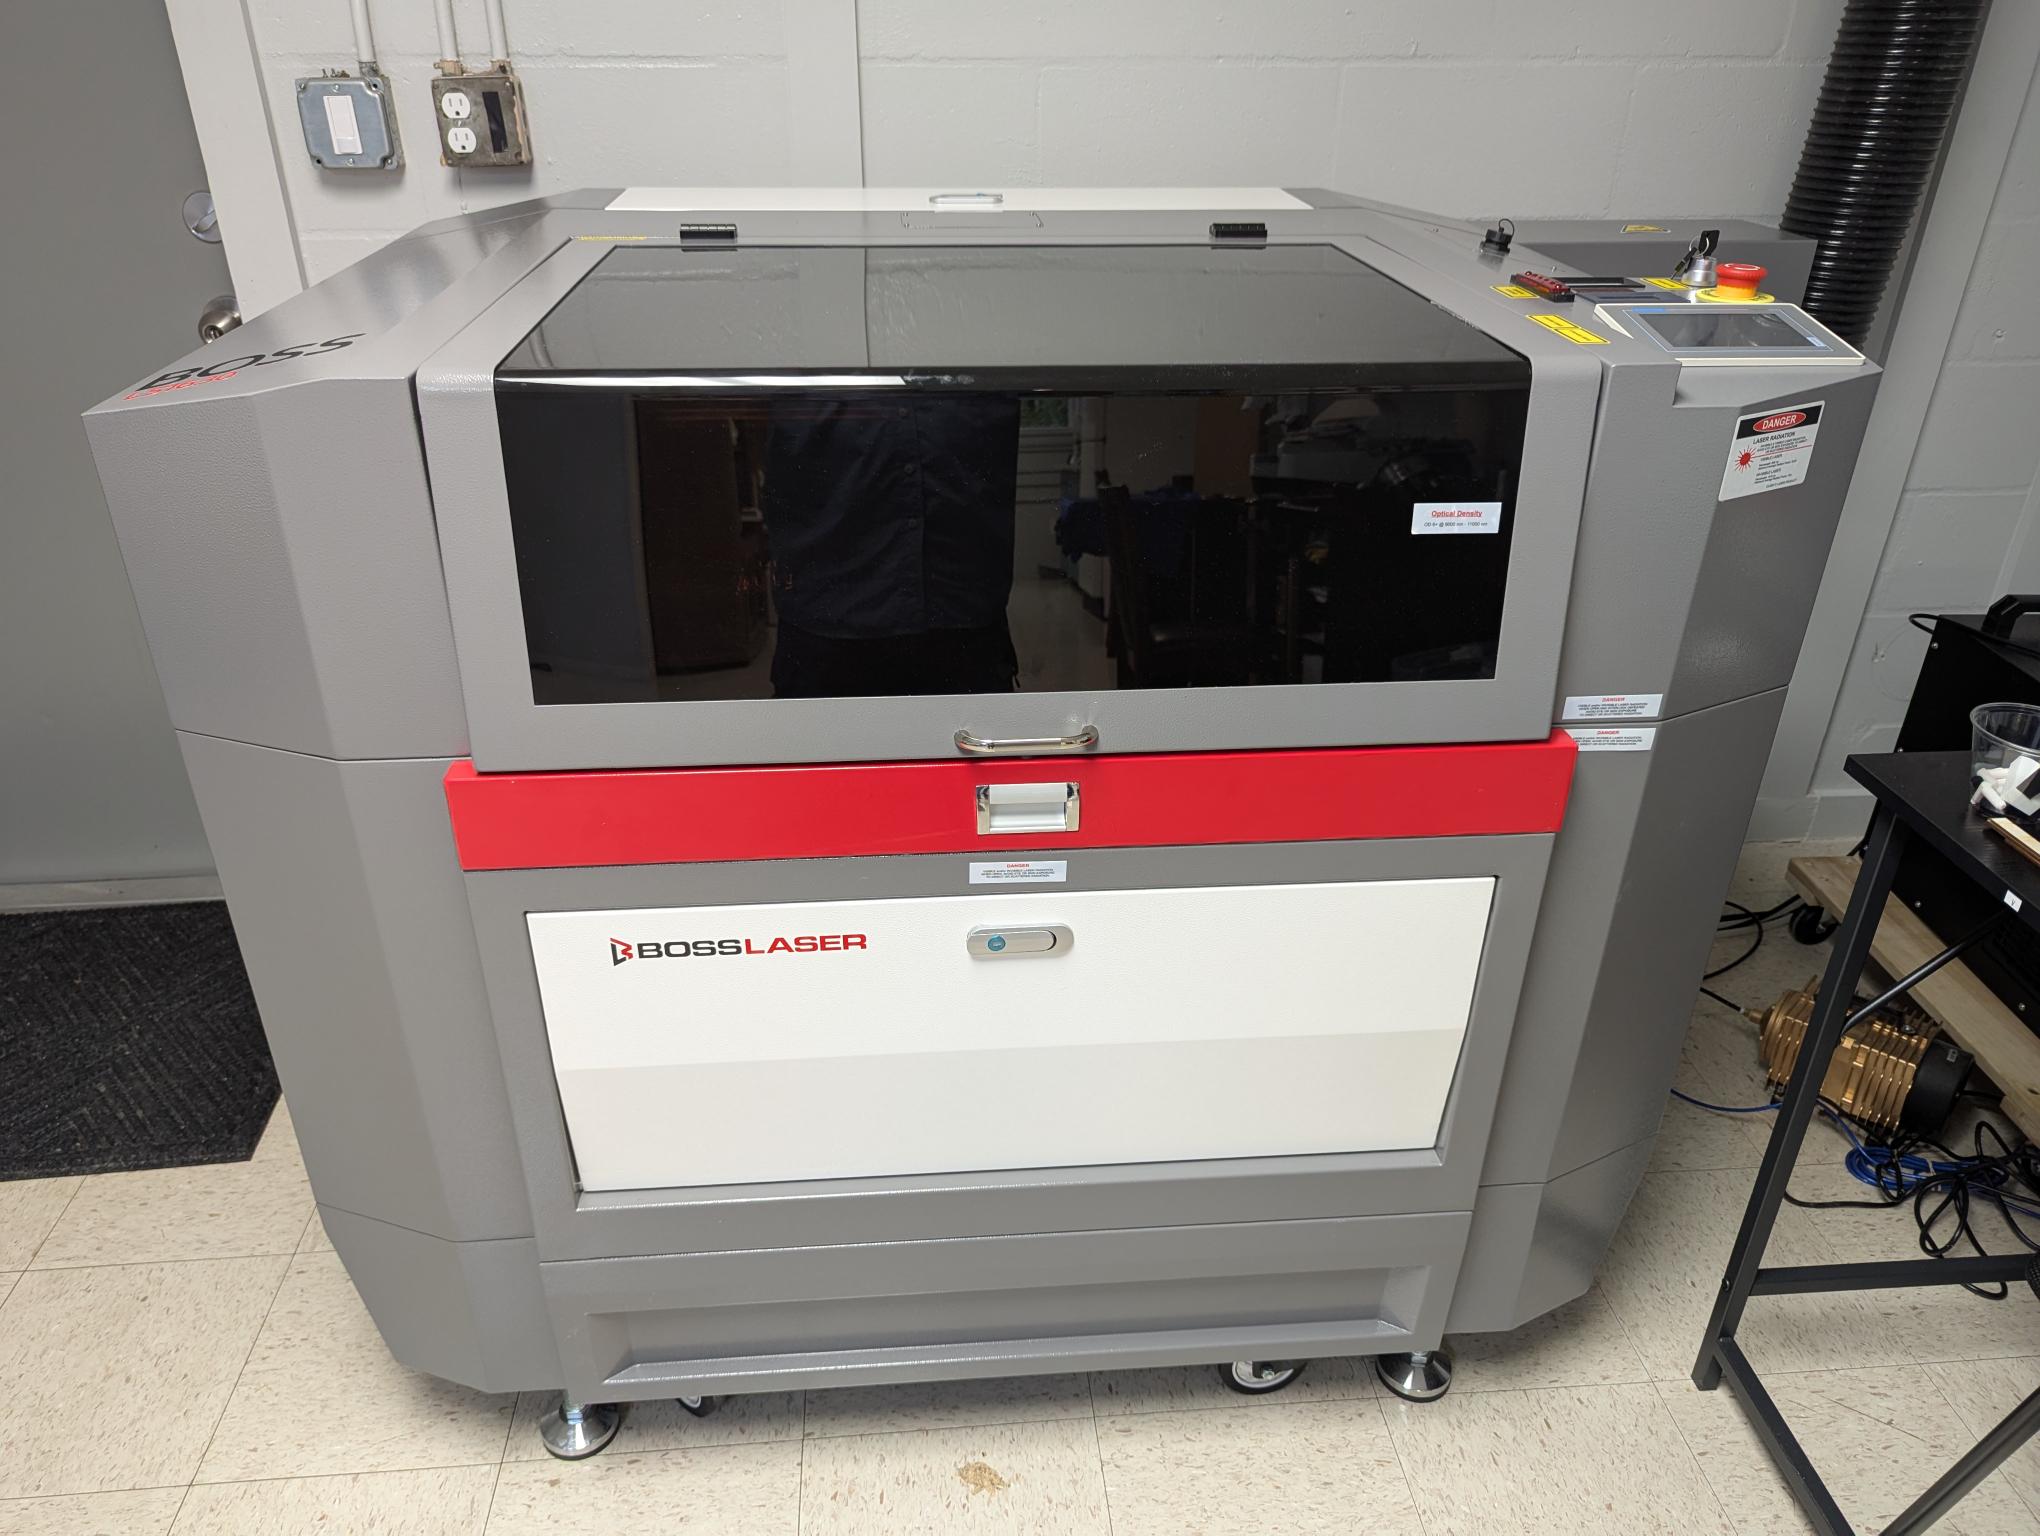
The Boss LS-1630 is a professional-grade CO2 laser cutter and engraver designed and engineered in the USA. Equipped with an 80W Boss X-Series CO2 laser tube, it delivers precise cutting and engraving across a wide range of non-metallic materials including wood, acrylic, leather, glass, fabric, cork, rubber, MDF, and more. Metals can be marked using LaserBond spray or pre-treated blanks. The LS-1630 features Hybrid Servo Drive motors providing speeds up to 1,500 mm/sec -- up to 3x faster than competing stepper motor systems. The 16" x 30" work area accommodates most project sizes, and the 4-Way Tru-Pass-Thru allows oversized materials to extend beyond the bed in any direction. The motorized Z-axis provides up to 8 inches of vertical travel for accommodating thicker materials or rotary attachments. The machine is a Class IV laser product with dual safety interlocks on the hood, an emergency stop switch, and water-cooled laser tube via an external CW-series chiller. It is operated through LightBurn software running on the adjacent computer workstation.
- View the LightBurn tutorial video before your first use
- Turn on the accessories power strip on the wall to the right of the machine
- Turn on the laser power strip (single plug)
- If cutting material (not just etching/engraving), turn on the external compressor located outside the barn door in the wood shop
- Log in to the computer (password: 7490) and open LightBurn software
- Prepare your design in LightBurn or import it
- Set speed, power, and number of passes for each layer
- Record your settings in the Excel file on the computer desktop
- Save the design in LightBurn, then click Send to send it to the laser
- On the laser control panel, select Manual mode
- Position the laser head over your material using the arrow keys
- Press Center to set the starting point of your burn
- Perform manual focus: place the focal guide box on the nozzle ledge, adjust Z-axis up/down until material surface touches the guide
- Switch to Auto mode on the laser control panel
- Press Frame to preview the cut perimeter on your material
- Adjust material position as needed; use industrial magnets to hold material flat
- For etch/engrave layers: click the Air column in LightBurn to turn it red (5 psi internal air only)
- For cut layers: leave Air switch green and verify 25 psi on the air gauge (right side of machine)
- Close the cover and press Start
- Laser Cutting Certification (Category)